Sunday, June 24, 2012

Vintage Nuptials

A few months ago I was asked to put together vintage inspired decor for the wedding reception of a wonderful couple.  I was excited to do it, and it's something I hope to be doing more of in the future.  Yesterday was the big day.  Even though it rained all morning, and reception was moved from the garden to a very cool horse arena, the sun was shining for the reception, the huge windows in the arena were open, and the evening was magical.

Here are the photos I shot of the centerpieces and decor.

Hydrangeas were their flower.  These are silks so that we didn't have to worry about the very delicate real flowers.  Plus, much of what I did with them could not have been done with real flowers.


You know those dated old multi-photo frames?  Some paint, glaze and dry brushing gives them new life.


The centerpieces were arrangements of painted picture frames, vintage lace, ironstone, and vintage mirrors painted to coordinate with the hydrangeas.


I found several pair of these sweet little birds.  I though they added a sweet touch of whimsey.  


You know I'm a big fan of empty frames. 


I took two of my own vintage chairs that happened to match their colors and finished a church pew type bench to match the hydrangeas.  


My apple crates, milk crate, and wire basket made appearances.  


The sign in table was a favorite.  They had one of their wedding photos, along with wedding photos of each of their parents and all four sets of grandparents.


I've been working on my chalk board lettering.  I think it's getting ever-so-slightly better.  I'll keep practicing.  


Congratulations, Jackie and Cole.  I love you both.  Thank you for allowing me to help with your celebration!

Friday, June 22, 2012

Sveta's Settee

OK, so this really isn't a settee, as it has no sides or back, but Lincoln and I debated and couldn't decide what to call it.  A bench?  An ottoman?  Nothing really seemed right, so I went with the word I liked the sound of.


Sveta is the name of one of my dearest friend's little girl.  This is her mama's color, but this is perfect toddler bench height as Leo has repeatedly demonstrated.  Plus, she's wearing the sweetest skirt!

I do wish I had a before pic to show you.  It was horrible.  Even John Henry was grossed out.  Under brittle and broken vinyl in a loud 1970's olive green print, was deteriorated cotton batting.

I did, however, remember to take a few pictures of the process.

Here she is in her underclothes.  I couldn't find my batting, but I had an extra mattress cover from the futon that we sold when we moved here.  I cut that up and used it as the batting.  It worked beautifully. 

 I made the piping from cotton cording and several strips of drop cloth sewn end to end.  Miss Mustard Seed has a great tutorial on this here.


Then I made the ruffle.


Do you all know about the best way to make a ruffle if you don't have a ruffle foot for your sewing machine (which I don't.)  Increase your stitch width to the widest it will go, then hold onto your thread while your sewing, letting it slip from your fingers every few stitches.  It takes some practice to get the hang of without breaking your thread, but it is FAR easier than trying to gather the fabric later.


Back to the zipper foot to attach the piping to the ruffle.  Be sure to leave enough room for the staples.


 Then staple the ruffle on from the underside as close to the cording as possible.


800,000 staples later. . . .

TADA!


Isn't the shape so much fun (although that curve was a royal pain to upholster.)


 Custom piping for some lovely contrast.


__________________________

Sveta is for sale.  See my available page for details.

I will be sharing at:
Miss Mustard Seed's Furniture Feature Friday
Primitive and Proper's Piece of Work Wednesday 


Thursday, June 21, 2012

New Business Cards

  Woot!  Check one more thing off the list.  (Celebrating the small things so I don't get overwhelmed with all of the big things.)

Small Projects

I haven't shared very many smaller projects here.  Some of you know that I've been sick for a long time.  Now that I am feeling better I am working on decorating this "new" house, I thought I'd share some of the smaller objects I've been working on as I get this house ever-so-slowly put back together.

I used to have a two bright green frames holding my jewelry.  They didn't go well in our bedroom here, plus it was time to drastically purge my jewelry.  I hardly wear any of it anymore, so I only kept the few things I wear and the the pieces that are the most special to me.  Then I made them a new holder.

I saw this on Pinterest.   (YAY Pinterest)

The original idea came from this blog:  http://www.cosascositasycosotasconmesh.com/
It's not in English, so I can't search for the original post though.

Enjoy my experimental photography.  


Wednesday, June 20, 2012

Cheating

Did you all know that I'm not really a new blogger, I'm just playing one here on AHR?  I actually started blogging on my original blog, Yarnnation in 2005.  That's right, I've been filling up a portion of the internet with my ramblings for some 7 years.  Hard to believe huh? 

Well, because I don't have any projects to show you right now, I thought I would cheat and share a post I posted over at Yarnnation about two years ago, just before we left Seattle.  Notice how little and cute John Henry was (as opposed to how big and cute he is now!)

Enjoy!

_______

She's lost her mind. . .

That is for sure what the Duke and my neighbors thought when I showed up with these chair I picked up on the side of the road.  (We live in a set of six townhouses that all share a driveway, and so my neighbors see what I am working on and chat, and generally shake their heads at the craziness I create.)

Photobucket

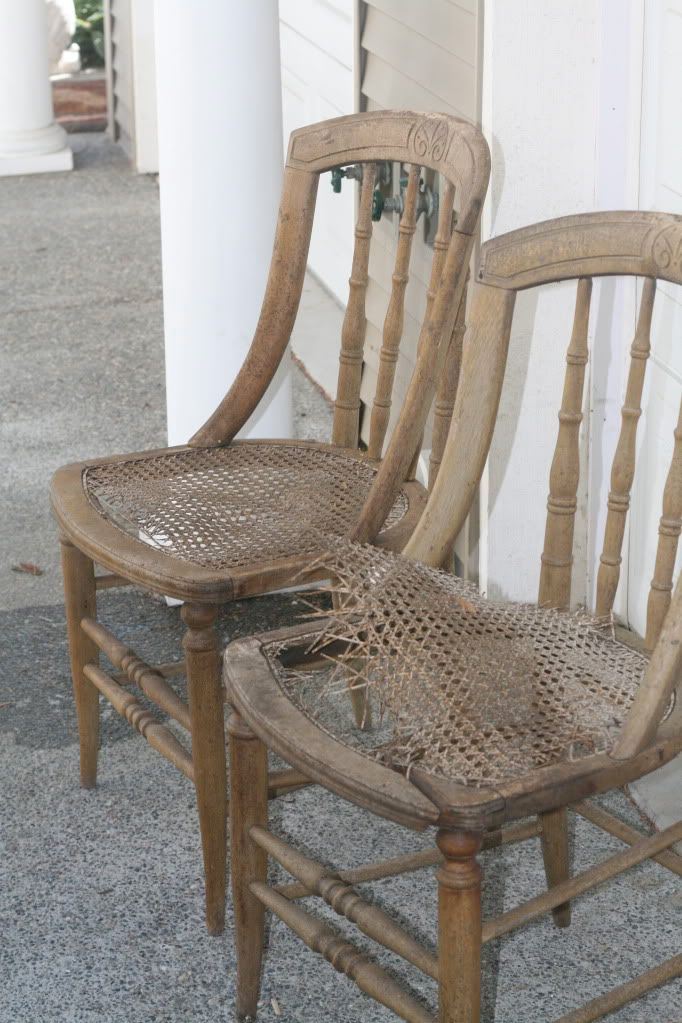
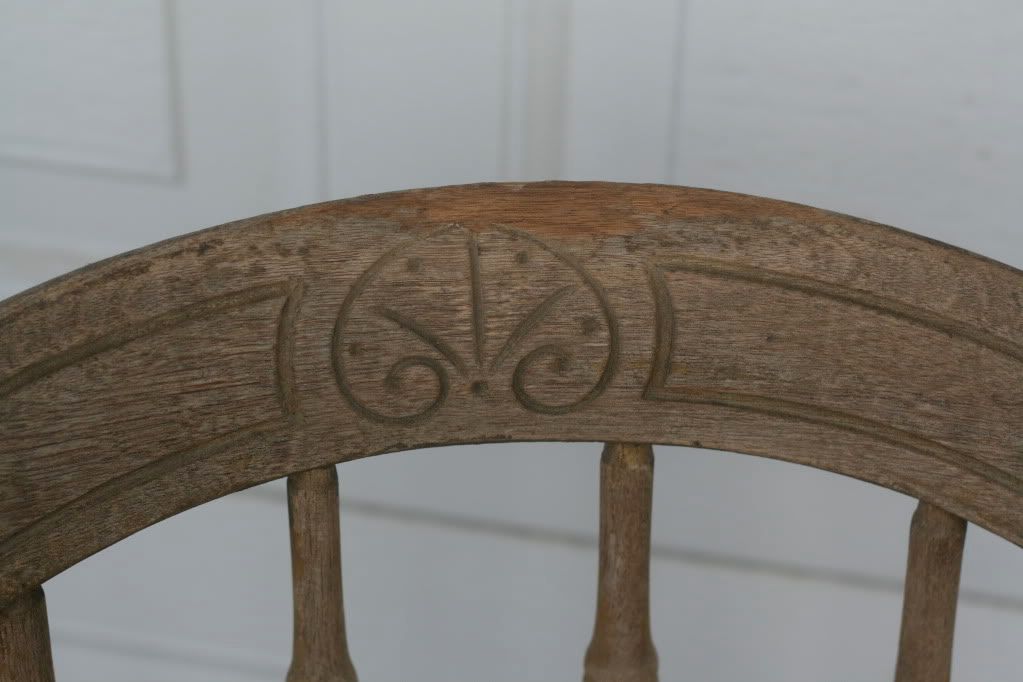
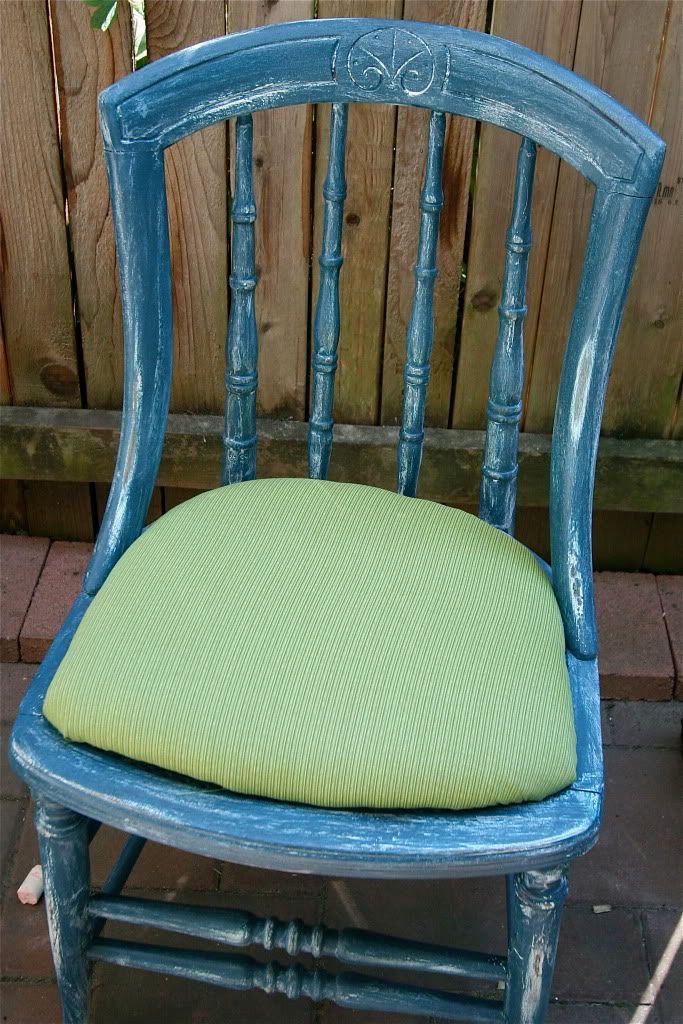
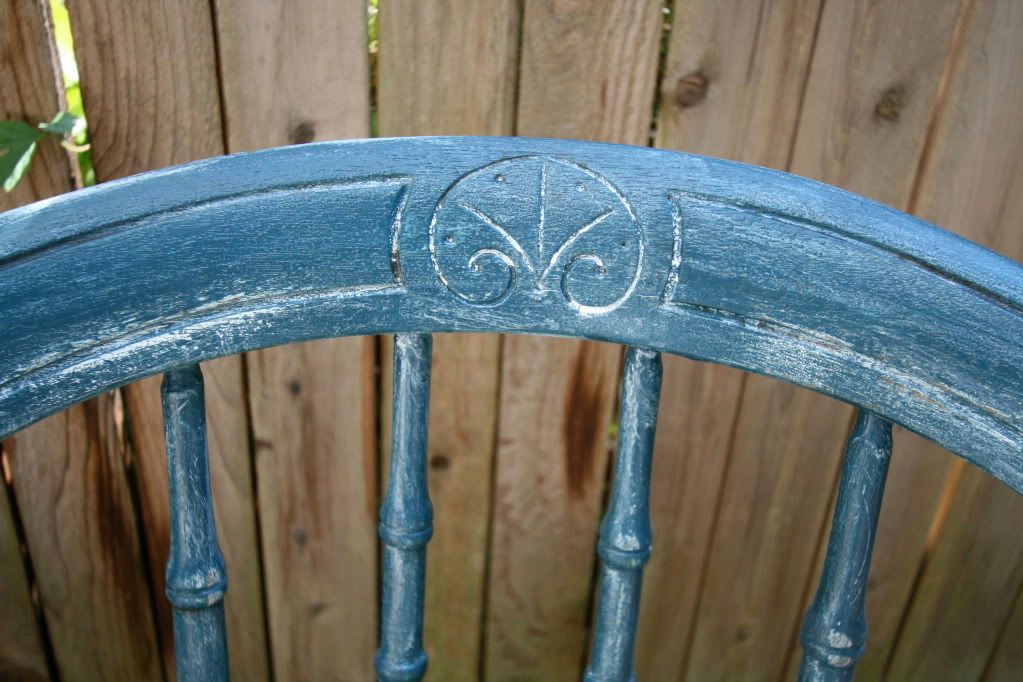
Yes, they were in bad shape, but I do love a challenge and look at this charming detail!

Photobucket

So, I tore the old wicker off of them, sanded them, and primed them.
Photobucket

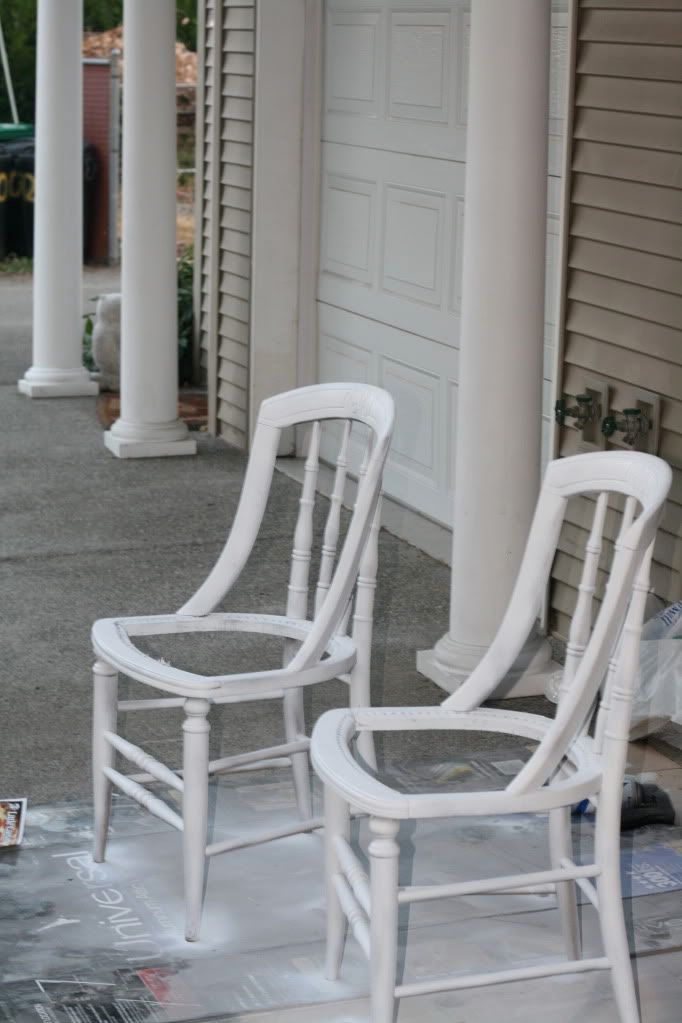
They drank up the paint like nothing else I have ever painted.  I put three coat of primer on them.  Then three more coats of a deep, cool teal, and we are ready for new seats.

Photobucket

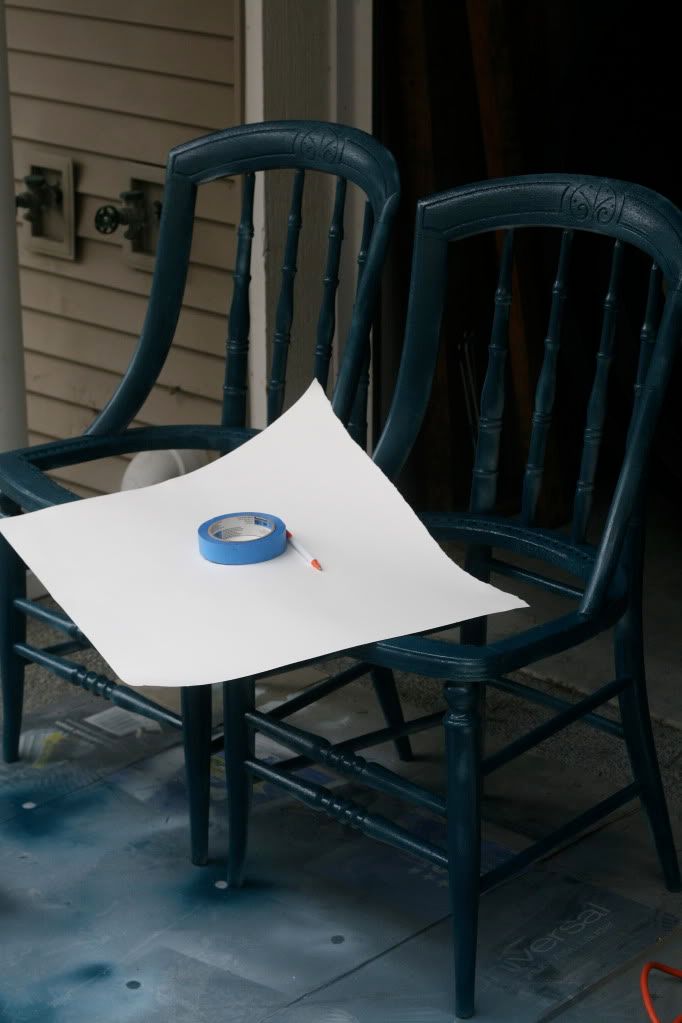
I considered a few options, but eventually decided that a regular cushion would be the easiest route.


Photobucket

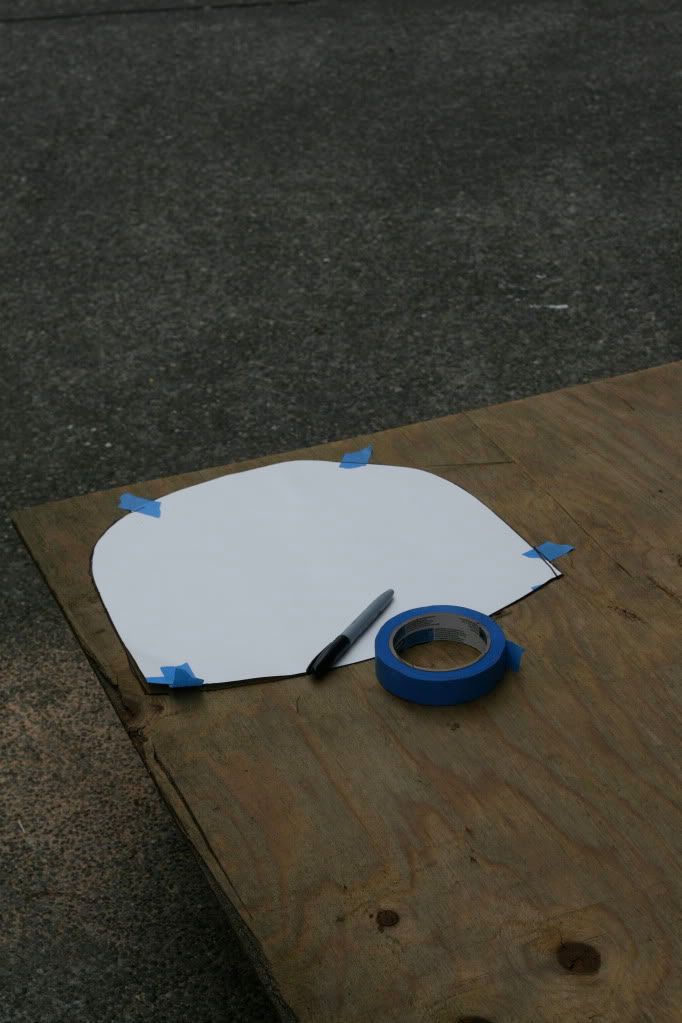
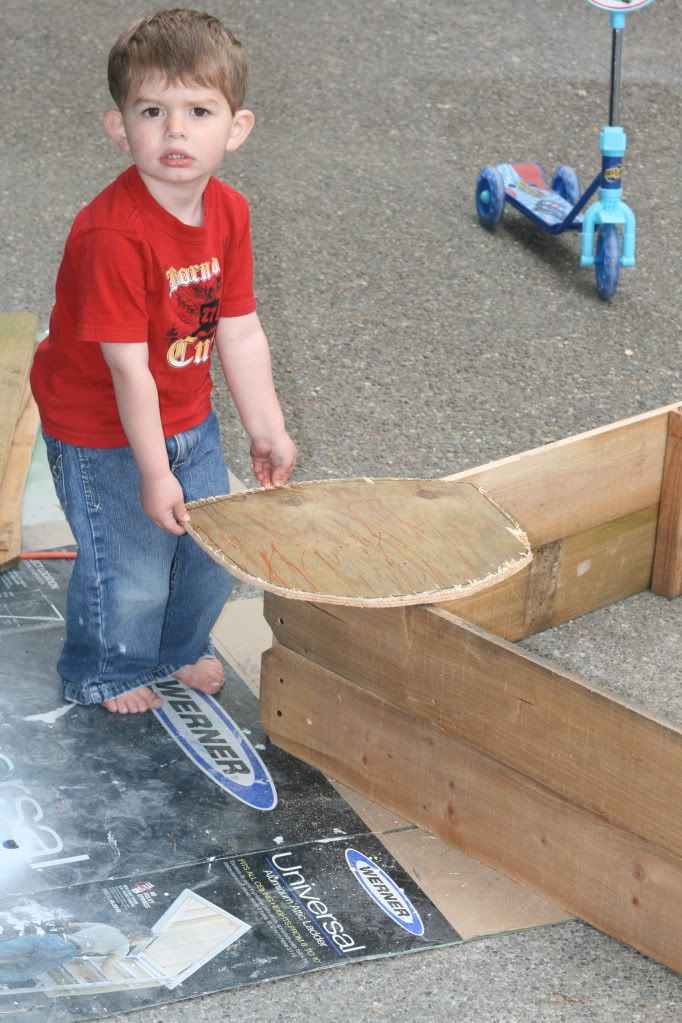
I taped a piece of poster board to the bottom of the chair and made myself a pattern in the shape of the hole in the chair.  Letting your preschooler color on your plywood while you are getting out your jig saw is optional, but encouraged.

Photobucket 

Photobucket 

Photobucket

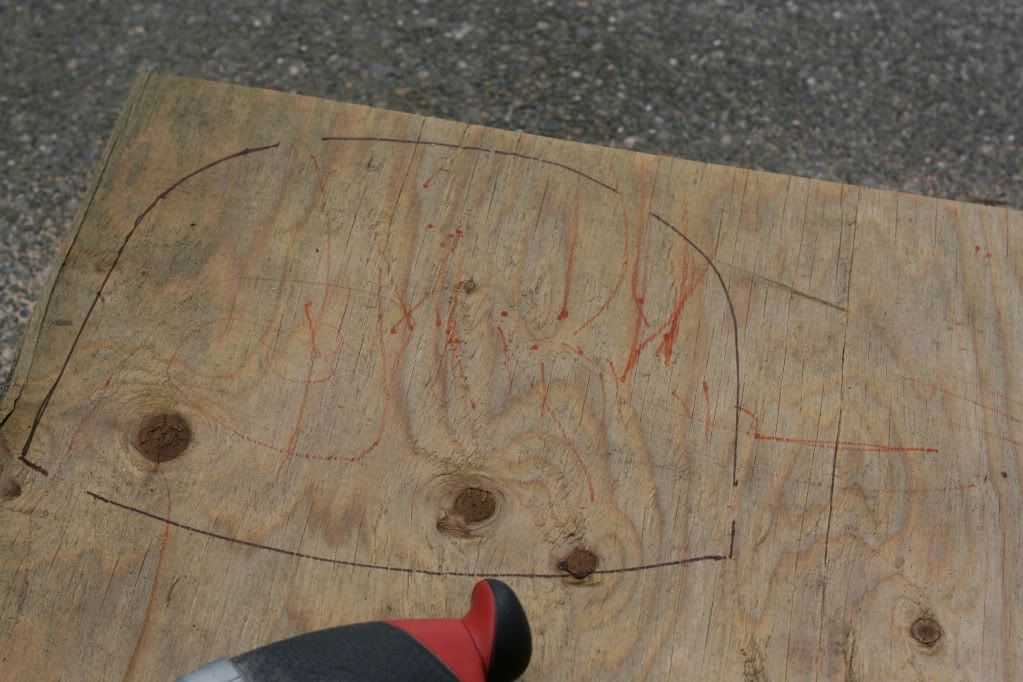
Then I banished said preschooler to "way over there!" and cut out the seat, about a 1/2 inch out from my pattern line.  Little Sir was appropriately impressed that his Mama knows how to use a jig saw.

Photobucket

Next, using the same pattern, Sunbrella fabric (these chairs will be living outside) is cut out leaving a 1.5 inch allowance.  I also cut some ripstop the same way to protect the batting a little better from the elements.

Photobucket

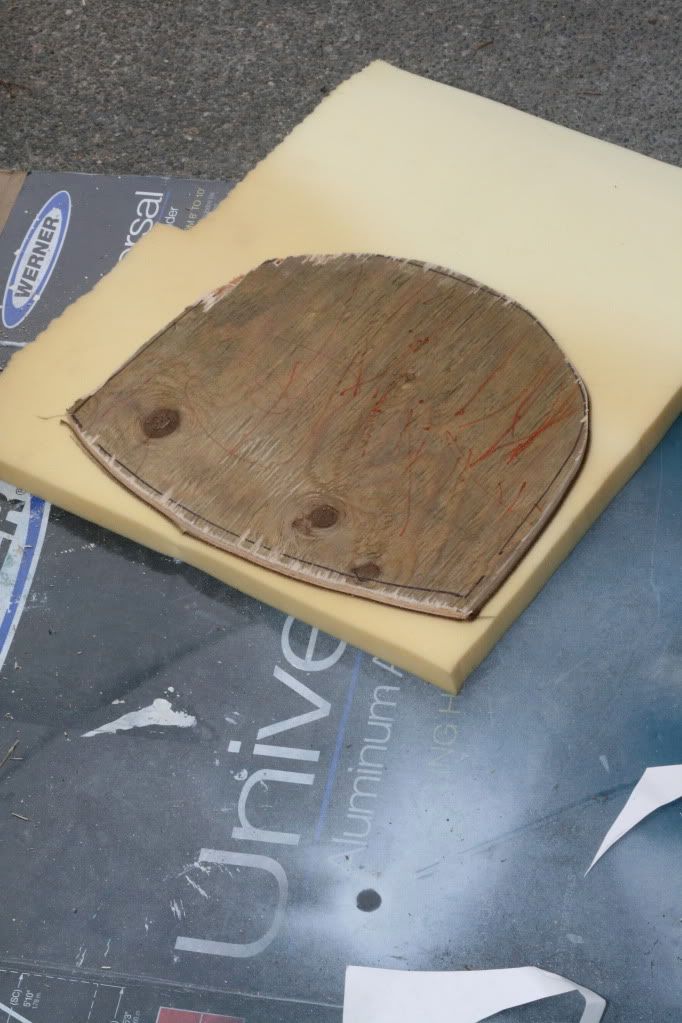
Don't use the paper pattern when cutting out your foam, use the actual piece of wood you will be using for the cushion w/ no extra allowance.

I was a little worried about using batting over the foam on a chair that was going to go outside, so I actually stapled the fabric down directly over the foam.  It looked horrible and after pulling out some 8 billion staples I decided to add the rip stop to protect the batting and also try to remember to bring the cushions in when winter arrives.

Layer the foam, batting and fabric on top of your wood, then staple down the fabric, pulling it tight as you go, starting in the middle of each side and working toward each corner.

A little more paint, a little glaze, some "re-stressing" and one episode of Dr. Who later. . .

Photobucket

Photobucket

Photobucket

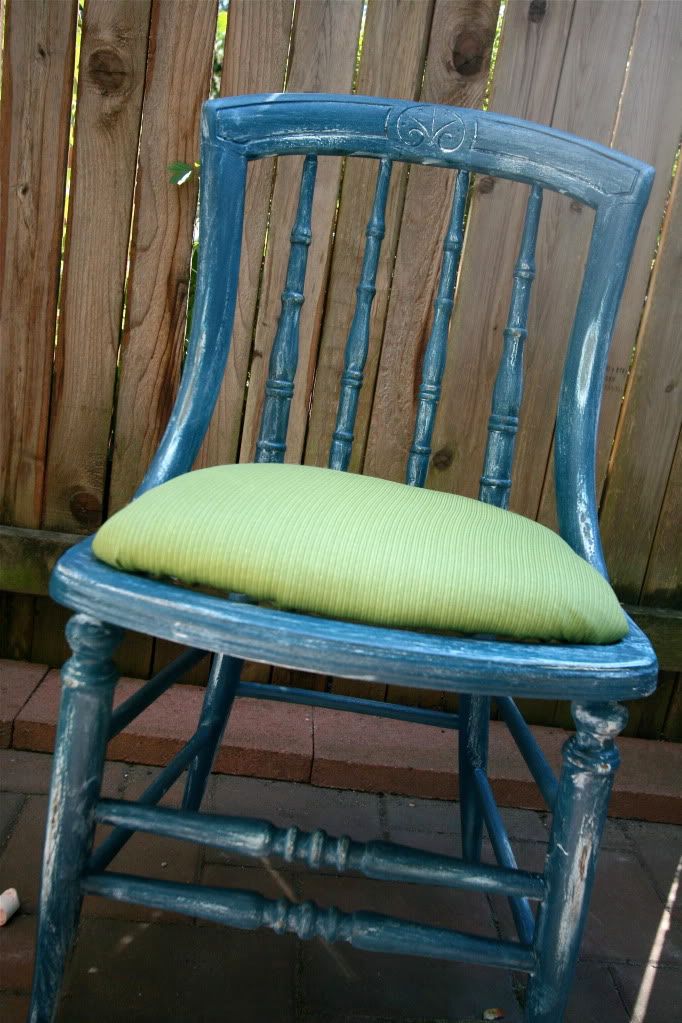
Oh yeah!!!  Who's crazy now???  (OK, I still am, but it results in pretty things, so I'm OK with that!)

Tuesday, June 12, 2012

Vintage Love - Tins

I haven't done a Vintage Love post since we arrived in Oregon.  A few days ago on one of my shopping trips I came across an entire vintage tin collection for an amazing price and I knew it was time to remedy that!  I just love these old tea and confection tins.  They are colorful and intricate and useful!  One of my favorite combinations.

Who wouldn't love to receive a gift of English Toffee in this perfect tin?


I particularly love the texture of the gold rope boarder.


This one doesn't have "Made in England" stamped on the bottom, instead a "Made in Taiwan," which normally would make me leave it behind, but it's beautiful colors and delicate pattern just called out to me.  I imagine the original owner experienced the same thing.  It is just so unusual.  


My mother had the blue version of this tin in our house growing up.  I can't remember what was in it, buttons maybe, but even though they are somewhat common, I always buy this tin when I see it because it nudges me in a nostalgic place.  


 This one is also dented and rusted just enough to make it interesting.


This is my absolute favorite of the bunch.  I've never had another one like this.  Aren't the colors and the design just amazing?


A slightly different tin with this same motif is the tin that originally peaked my interest in vintage tins.  It is hard to tell from the photo, but the design is pressed all over, giving it a wonderful physical texture in addition to the colorful design.


I also really like the hinged tins.


This is the largest tin in the collection.  I love the handles on the lid and on the bottom.


The colors are also sweet and feminine.


This last tin was not with the rest.  This is one that I've had in my personal collection that I just can't seem to find a place in this house for.  The Opal House is quite a bit smaller than the Apple House was and I have been selling some of the treasures that adorned the Apple House if I don't have a place for them in this house.


It took me awhile to decide to give this one up.  I love the colors and the flowers on it, and it's hinged, but I have been moving it around my house for several months and not liking it anywhere, so I'm hoping someone else will love it and find a use for it.


So, does this make you want to start your own collection of vintage tins?  Which one is your favorite?


Pin It button on image hover